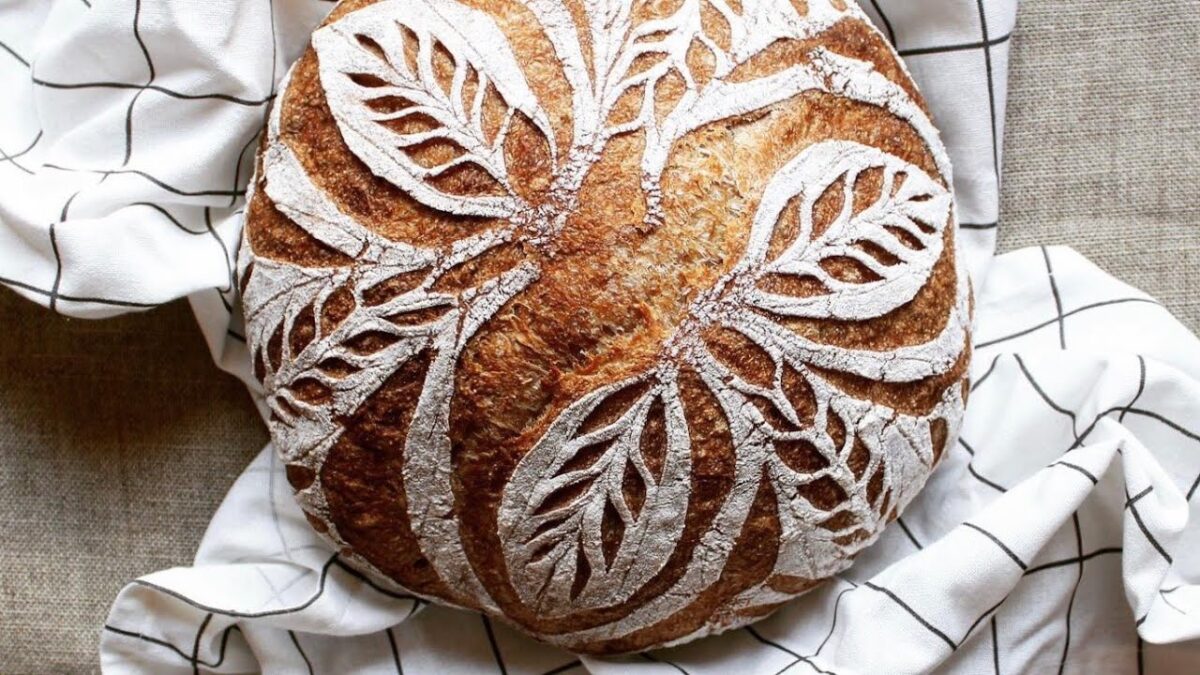
There’s something magical about the process of baking sourdough bread from scratch. With its tangy flavor, chewy texture, and crispy crust, sourdough is one of the most beloved types of bread. While it may seem intimidating to make at home, with patience and a little practice, you can quickly master the art of sourdough bread. Here’s a step-by-step guide to help you bake this delicious, naturally leavened bread in your kitchen.
1. Understanding Sourdough Starter
The sourdough bread’s key is the starter, a mixture of flour and water that captures wild yeast and bacteria from the environment. Unlike store-bought yeast added directly to the dough, sourdough relies on the natural fermentation process to rise. The starter needs time to develop and grow strong, so you must feed it daily with fresh flour and water.
To create your starter, combine water and flour (about 100 grams each) in a jar. Stir to incorporate and let it sit at room temperature, covering loosely with a cloth to allow airflow. Each day, discard half of the mixture and feed it with the same ratio of flour and water. After 5-7 days, your starter should be bubbly, fragrant, and ready to use. You’ll know it’s ready when it doubles in size within 4-6 hours of feeding.
2. Mixing the Dough
Once your starter is active, it’s time to make the dough. Begin by combining your starter with water and flour in a large bowl. For a basic sourdough recipe, you’ll need 100 grams of active starter, 375 grams of water, 500 grams of bread flour, and 10 grams of salt. Mix everything until it forms a rough dough, ensuring all the flour is hydrated. You can use your hands or a dough scraper to work the dough together. Let it rest for about 30 minutes to allow the flour to absorb the water fully – this step is known as the “autolyze.”
3. Kneading and Stretching
Once the dough has rested, it’s time to knead, stretch, and fold it. Sourdough doesn’t require the same kneading techniques as regular bread because it’s naturally more hydrated and elastic. Instead of traditional kneading, perform a series of stretches and folds every 30 minutes for the first few hours of the bulk fermentation. To do this, gently pull one side of the dough and fold it over to the other side. Rotate the dough and repeat until you’ve stretched and folded the entire dough. This helps develop the gluten structure, making the bread rise and hold its shape.
4. Bulk Fermentation
After the dough has been mixed and folded, it needs to ferment and rise. This bulk fermentation period can take anywhere from 4-12 hours, depending on the temperature of your kitchen and the strength of your starter. During this time, the dough will slowly expand as the natural yeasts and bacteria ferment the sugars in the flour. You can test if the dough is ready by performing the “poke test” – gently press a finger into the dough, and if the indentation remains, it’s prepared for the next step.
5. Shaping the Dough
Once the dough has fermented and doubled, it’s time to shape it. Turn the dough onto a lightly floured surface and gently shape it into a round or oval loaf. Be careful not to deflate the dough too much. Let the dough rest for a few minutes, then shape it more tightly by folding the edges toward the center, creating tension on the surface. This helps the dough hold its shape during baking.
6. Proofing the Dough
After shaping, the dough needs a final proof or second rise. Place the shaped dough into a proofing basket (banneton) or a bowl lined with a well-floured cloth. Cover it and let it rise for about 2-3 hours at room temperature, or refrigerate it overnight for a slower, colder fermentation. The dough is ready to bake when visibly puffed up but retains some of its original shape.
7. Baking the Bread
Preheat your oven to 475°F (245°C) with a Dutch oven or baking stone inside to create steam during the bake. Once preheated, carefully place the dough into the hot Dutch oven, scoring the top with a sharp knife or razor blade to allow the bread to expand. Cover and bake for 20-25 minutes, then uncover and bake for another 20-30 minutes until the loaf is golden brown and sounds hollow when tapped on the bottom.
8. Cooling and Enjoying
Allow the bread to cool on a wire rack for at least an hour before slicing. This gives the crumb time to set and ensures you get the perfect texture. Enjoy your homemade sourdough bread with butter, cheese, or any topping you like.
Conclusion
Mastering sourdough bread at home may take time and patience, but the results are gratifying. With a bit of practice and attention to detail, you can bake loaves that rival those from your local bakery. The beauty of sourdough lies in its natural fermentation, creating a unique flavor profile with every batch. Enjoy the process and the delicious results of your homemade sourdough bread!

